
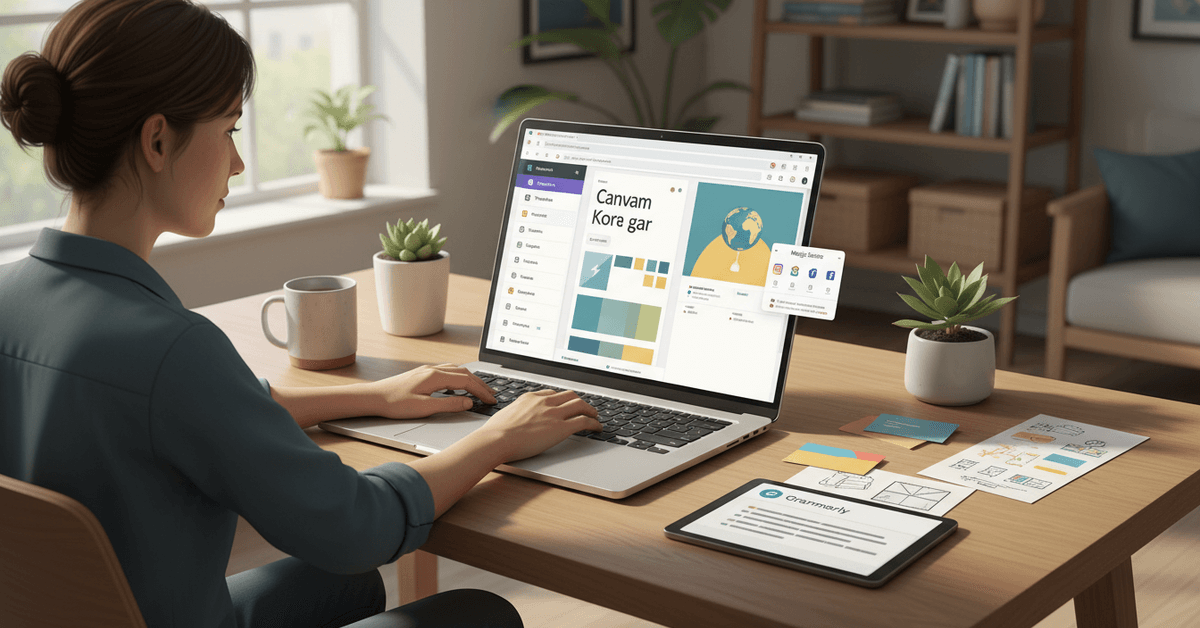
Ever feel overwhelmed trying to create visuals, presentations, or social posts yet have zero formal design training? You're not alone.
Canva has emerged as the go-to tool for non-designers who want to look professional—fast. In this article, we'll unpack smart, practical Canva strategies non-designers (students, freelancers, or even small business owners) can use to elevate digital projects, without a pricey design course or hours of struggle.
If you want your work to stand out without wasting time, keep reading—these pro-level tips are for you.
Why Canva Is a Game-Changer for Non-Designers?
Drag-and-Drop Interface
No complicated menus, just easy movement. With Canva’s intuitive drag-and-drop system, assembling a professional-looking design feels surprisingly achievable, yes—even if you’re just starting out.
Rich Template Library
Thousands of templates are pre-designed for banners, resumes, social posts, and more. You pick one—half the work is already done. And most look genuinely slick, which is probably better than you’d expect from a free tool.
Real-Time Collaboration
If you’re working as part of a team or preparing a group project, Canva allows multiple users to co-edit designs. Maybe you’ve tried bouncing files over email—this way is so much easier.
Getting Started: Canva Essentials for Beginners
Setting Up Your Account
Sign up with Google, Facebook, or your email—takes under a minute. The free tier offers a lot, while Canva Pro unlocks more stock imagery and advanced options (no pressure to upgrade right away, though).
Touring the Dashboards
Spend a few minutes familiarizing yourself with the main dashboard tabs: Templates, Elements, Uploads, Text, and Background. It’s easier to dive in once you know what goes where. Play around, click things, don’t worry about making mistakes… you can always delete and try again.
Selecting Templates
Type your project need (like “Instagram Story” or “YouTube Banner”) into the search bar, and Canva will suggest the best fitting canvas size and popular templates for that type. Pre-sized options make sure your work won’t get weirdly cropped later.
Design Like a Pro: Canva Tips Non-Designers Swear By
Choose Consistent Color Schemes
Pick a few colors up front and stick with them. Canva’s Color Palette Generator can match any image you upload or suggest trending color combinations. Mixing too many colors? You’ll risk making your project look scattered or amateurish.
Use Brand Kits for Frequent Projects
If you regularly make materials for a business, club, or personal brand, Canva’s Brand Kit feature (Pro only) is a timesaver.
Upload logos, pick main colors, set default fonts—your team’s identity, ready in seconds. Even if you’re just working solo, this is handy for personal LinkedIn graphics and presentations.
Master Alignment and Spacing
Misaligned text and lopsided images? It happens. Use Canva’s guides and snap-to-grid functions so your content sits perfectly balanced. Whitespace is your friend; crowding everything close together rarely looks good, even if you’ve got loads to say.
Experiment with Fonts, But Don’t Overdo It
Mixing more than two font styles per design can look messy. Canva’s pairing suggestions are useful—try a bold headline with a clean, readable body font.
If in doubt, stick with easy options like “Open Sans” or “Montserrat.” They work pretty much everywhere.
Leverage Built-in Visual Elements
Want to add icons, lines, or patterns? Canva’s Elements tab is a gold mine. Filter by free or Pro assets. For quick visuals, type a keyword in the Elements bar (like “arrow” or “calendar”) and drag the graphic onto your design. Resize, recolor, or rotate as needed.
Using Canva for Different Project Types
Social Media Graphics
Canva auto-sizes designs to fit Instagram, Facebook, Twitter, LinkedIn, TikTok, or YouTube. Use the Magic Resize tool (Pro) to instantly repurpose one design for other platforms.
Presentations & Slideshows
Templates for professional decks come with coordinated colors and layouts. You can embed GIFs, video, or even voiceovers. Students: this can seriously upgrade tired PowerPoint work!
Infographics & Data Visualizations
If you have numbers or processes to explain, try Canva’s infographic templates. Drag-and-drop charts, icons, and section headers simplify complex topics—perfect for blog posts or annual reports.
Print Materials and Documents
Business cards, flyers, resumes, or event invites are easy to customize and download as PDFs. Canva even lets you order professional prints delivered to your door—surprisingly handy when deadlines are tight.
Time-Saving Canva Features Every User Should Try
Magic Edit and Text to Image
Curious about AI-powered design tools? Canva’s “Magic Edit” lets you tweak images or erase parts with a click. “Text to Image” generates original AI art from your prompts—great for unique backgrounds or illustrations.
Shortcut Keys
Want to double your speed? Try shortcuts like Ctrl + D (duplicate), T (add text box), or R (add rectangle). Small time-savers add up when working on multiple projects.
Version History & Undo
Mistakes happen—often, honestly. Canva’s undo/redo function and “View version history” feature help you retrace your steps and recover earlier ideas you actually liked better. Perhaps you will; maybe not.
Best Practices for Clean, Professional Canva Designs
Keep It Simple
Aspiring designers sometimes overcomplicate. Think: one clear message, bold focal points, simple backgrounds. If you’re unsure, err on the side of minimalist—it tends to feel intentional, even sophisticated.
Use High-Quality Images
Blurry pics, overused stock, or pixelated photos can immediately cheapen your result. Upload your own high-res photos or use Canva’s robust stock library. Double-check image rights if using sourced imagery.
Proofread Everything
Spelling errors make even the prettiest design look sloppy, so always check twice. Canva integrates with Grammarly for spellcheck (handy if you’re multitasking or in a rush).
Test Your Design on Different Devices
It’s very easy to miss details on a desktop that are glaringly obvious on mobile. Always preview your design at different sizes. Canva’s Zoom and Presentation modes are perfect for this.
Monetizing Your Canva Skills
Offer Design Services
Freelancers or students can sell Canva-made social graphics, brochures, or presentation templates on sites like Fiverr or Etsy. Even simple assets save businesses and creators lots of time, so there’s demand.
Create Downloadable Templates
Bloggers or YouTubers: create printable planners, resume templates, or eBook covers and offer them as lead magnets or paid downloads. Brand your work for better exposure (watermarking helps protect your efforts).
Teach Others
If you’ve picked up tricks using Canva, share what you’ve learned. Try short tips videos, mini-courses, or tech blog tutorials. There’s an endless wave of newcomers every month.
Stay Ahead: Canva Updates & Integrations
Explore New Features Regularly
Canva frequently launches new tools and product integrations (just last year, they added collaborative Whiteboards and bulk-create options).
It’s honestly tough to keep up, but taking ten minutes to explore what’s new could unlock faster or slicker workflows for your next project.
Integrate with Other Apps
Canva connects with Google Drive, Dropbox, Slack, and even various social platforms for direct sharing. Use these integrations to streamline content delivery or automate posting schedules.
Conclusion
Canva can help non-designers create polished visuals, presentations, social posts, and documents without advanced design training.
The best results usually come from simple layouts, consistent branding, readable fonts, strong images, and careful spacing. It is also important to proofread your work and preview designs across different devices before sharing or printing.
With regular practice, Canva can become a practical tool for faster, cleaner, and more professional digital projects.


